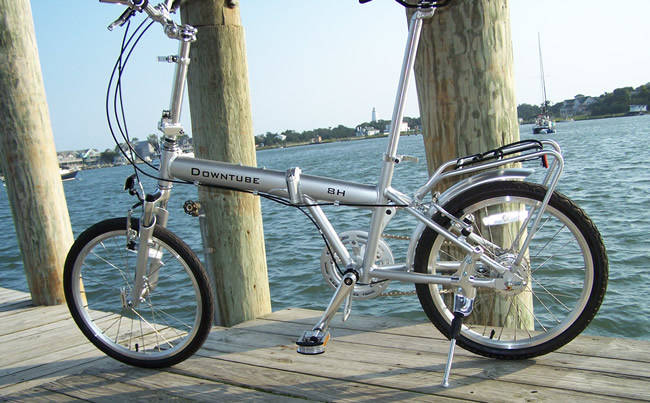
Adjusting bicycle saddle height for comfort
It’s amazing to me how many people ride their bikes in a way that is both uncomfortable and risky. A simple adjustment can make cycling more enjoyable and safer.
Our joints are a very vulnerable part of our bodies. While strong, they can be injured if used in a way that puts too much pressure on them. Cycling puts a lot of pressure on your knees. That is why it is so important to have the proper knee bend when pedaling. That proper position starts with the height of the seat. The position of the bicycle seat to the pedals is an extremely important ratio. Your legs can get fatigued really quickly if the seat is too high or too low. You might even sustain injury to your muscles if your seat position causes too much strain on your legs. So, what exactly is the best height for your seat? Here is a quick and easy way to determine that.
The proper knee bend, which equates to saddle height, is measured with the pedal at top dead center. The picture below has the pedal at top dead center, the furthest position from ones hip.

The rider’s leg should never be completely straight while pedaling. Repeated pedaling with a straight leg may cause cartilage damage in the knee because either of the legs may get locked in the straight position.
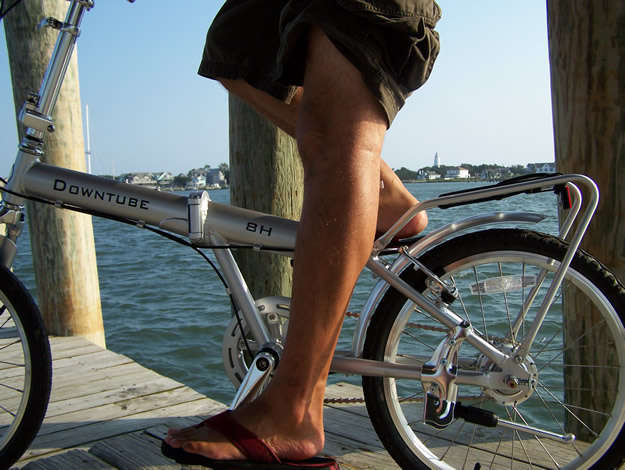
The photo below has the rider’s leg in a dangerous straight position with the pedal at top dead center. This rider should lower his saddle slightly.

Your legs should not have too much of a bend while riding either. An exaggerated bend of the knee makes pedaling harder, and is not good for your joints. It is highly probable that even one long ride in this position will trigger knee pain.
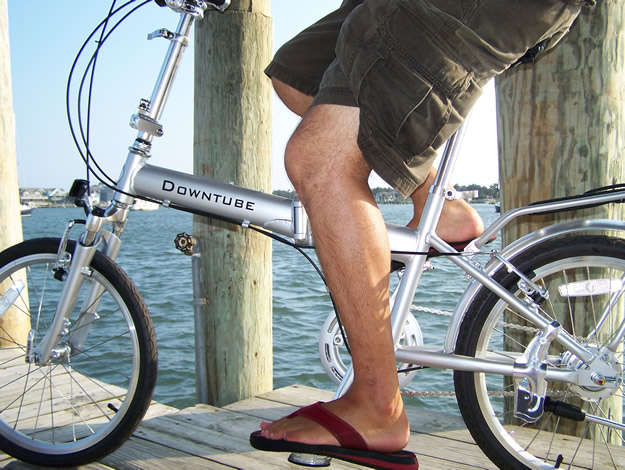
The photo below shows a rider with too much bend in the knee with the pedal at top dead center. This rider should set his saddle higher.

The rider should have a 30 degree knee bend at the bone not at the surface of the skin. This can be determined with the protractor used in most geometry kits from school days.
There are two simple ways to measure the angle of your knee to adjust your seat height. The first is accurate but needs a protractor; the second is less accurate but only requires a ruler.
A: with a protractor
-
Place the bottom, flat part, of the protractor at the top of and in line with your lower leg.
-
The zero line or the number 0 will indicate the angle of your lower leg.
-
Look at the number of degrees your upper leg indicates on the scale.
-
Adjust the seat height until the degree of your upper leg is at 30.
B: Using a ruler
-
Draw a 3 inch square on a piece of paper.
-
Measure 1 inch from the top and mark it A.
-
Measure 1 inch from the bottom and mark it B.
-
Draw a line from the far left bottom corner to Point A.
-
The angle inscribed is 30o.
Your ride will be amazingly comfortable once your seat post height is properly set.
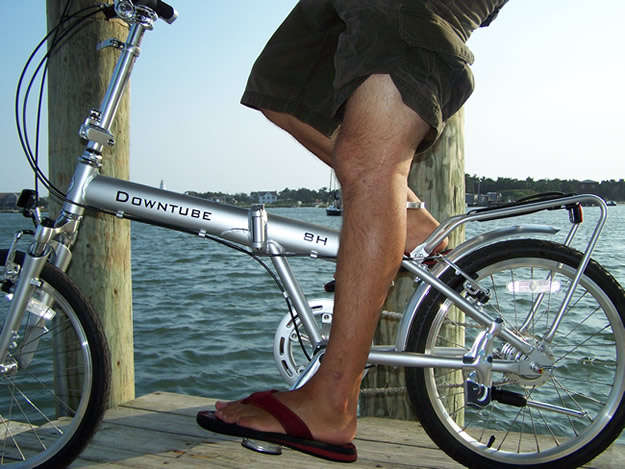
The photo below has a perfect knee bend with pedal at top dead center, hence a perfect saddle height.

It is a simple but effective way both to assure a better ride and to avoid pain or injury.
