It’s a beautiful day, so you haul your bike out of the garage and hop on. There’s just something about riding a bike that can’t be beat. It’s good for the soul. The feeling of the wind on your face seems to blow away your cares and worries. You feel good because you are doing something healthy that is also fun. You’re breathing in more oxygen, which helps you think better and I think more positively. You are the best you that you can be. What’s not to love about that? However, there can be a fly in the ointment if your brakes on your bike aren’t up to snuff.
Have you ever been enjoying a bike ride when one of these things happens? You start going down a hill too fast, so you apply your brakes, but the levers go all the way to the handlebar and you’re still not braking fast enough. You’re coming to a corner and when you try to feather the brakes they lock in and either stop you dead or nearly send you into the ditch? Either of those problems can change a wonderful day riding into an annoying experience. No one wants to spoil a ride by having their brakes not function properly. If either of these things has happened to you, I have a solution. I’m going to show you how to adjust your levers for both safety and confidence.
Adjusting your bikes actual brakes can get tricky; however, adjusting your bike’s brake levers is easy.
The first thing you need to check is the ‘throw’ of your levers. You should be able to pull the levers a little before they engage the brakes. They will need to be adjusted if they engage as soon as you touch the levers. Additionally, they should not require you to pull them all the way to the handlebar. Either of these problems can be adjusted before you get on the bike or while riding.
If the brake lever engages too quickly you need to turn the barrel adjuster inwards until the lever throw gets comfortable. You can also rotate the locking nut if feel it is necessary.
If the brake levers get close to the handlebar when engaged you need to turn the barrel adjuster outward until the brakes engage comfortably. Then rotate the locking nut until it keeps the barrel adjuster stable.
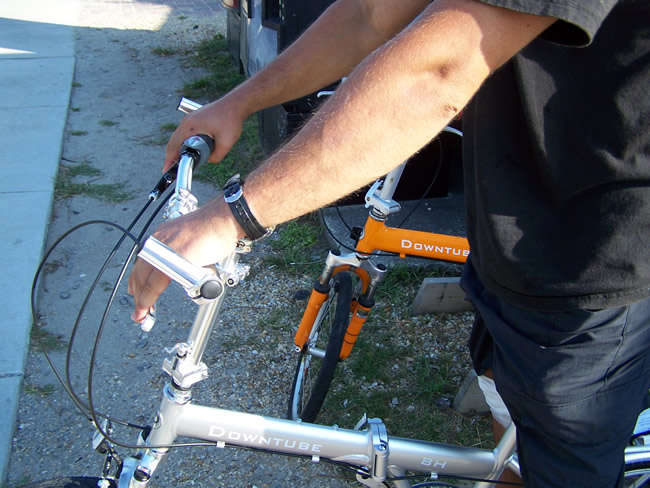
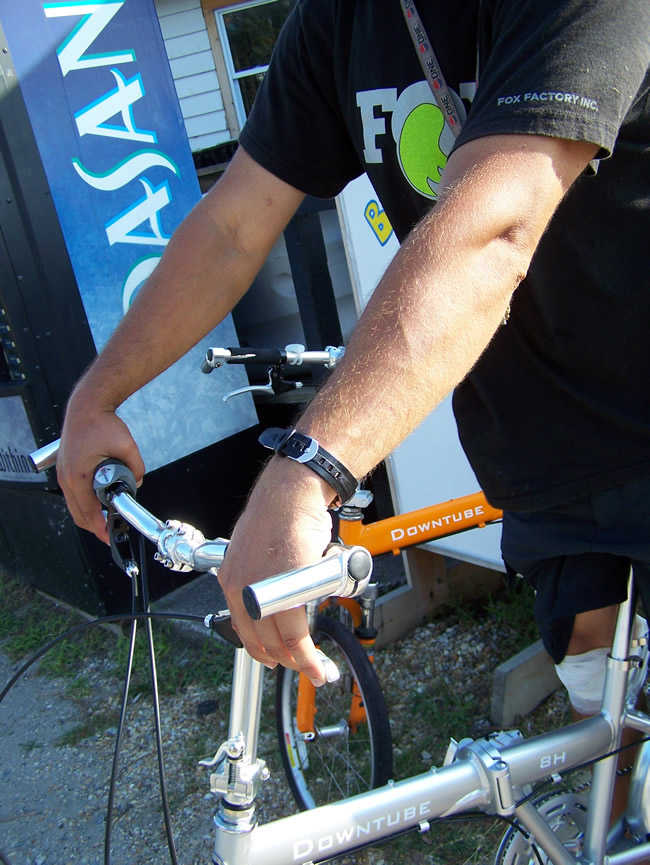
A final point that will make braking your bike smoother and easier on your body is to adjust the brake lever position. Make sure there is no bend in your wrist, up or down, when holding the brake levers. Adjust them so that your wrists are in a straight line emanating from your shoulder. Adjusting the angle of the lever is easy, just loosen the 5mm Allen bolt on the bottom of the lever and move it into place, then re-tighten the bolt. Voila!
That's all you need to do to get your brake levers adjusted properly. To learn about adjusting your actual brakes go to our brake adjustment page.

The picture below illustrates a problematic position for the brake levers. The wrists are bent down too far. This not only will be uncomfortable, it creates the risk of long term injury for the rider. To correct this problem you need to loosen the 5mm bolt attached to the handlebars and rotate the brake levers up until the rider’s wrists are in a straight line from the shoulders.

There are different methods for adjusting the throw of the brake levers, but it all comes down to rider preference. Stick with a position you find comfortable. Adjusting the throw is easy, just use the barrel adjuster at the end of the brake lever to adjust the lever engagement.
Have any questions? Drop me an email at yanL@downtube.com.
Happy riding!
